How To Cure Gel Nails With A UV Light?
The benefits of gel polish over regular nail paint are no longer a secret. With everyone wanting a perfect set, gel polish is the latest trend everyone is running after.
However, curing gel nail polish is difficult because it involves a step-by-step process you cannot accomplish unless you are trained for it. One essential thing is a gel UV light that cures your nails perfectly, giving you the beautiful set you craved.
To use a UV light needs experience because handling this device is not everyone’s cup of tea. It is hassle task and even a bit experience will help you do it proficiently.
The best feature of the UV rays is its bonding which keeps everything intact on your nails by sealing and hardening the gel polish together. It ensures that the gel polish doesn’t wear even if your try to scrape yourself.
Knowing the correct technique is essential if you want to use a gel polish UV light at home; otherwise, you cannot achieve the desired results.
What Is Gel Polish Curing?
The main aim of the UV light is to cure your nails so they bond together and don't chip as easily as regular paints and UV lamps help with this. It takes a few minutes to complete the process, and you are ready to flaunt your nails like you always wanted.
You should use the best gel UV light because it gives better results than the poor-quality ones, which cannot harden the polish properly, leaving it soft and susceptible to damage. Also, learn the right way to use the lamp so you can do your nails at home and not spend loads at a salon.
A Step-By-Step Guide To Cure Gel Nails
Curing gel nails is a multiple-step process you must follow if you want your nails to be good and attractive.
- Since exposing your skin to UV rays is harmful, the first thing you should do is wear protective gloves. It is also better to apply sunscreen before painting your nails so your hands are better protected.
- You will need a 36-watt UV lamp with a long cable to connect it to an electrical outlet nearby. Working comfortably is crucial if you want an immaculate work so place the lamp on the table to utilize it the best.
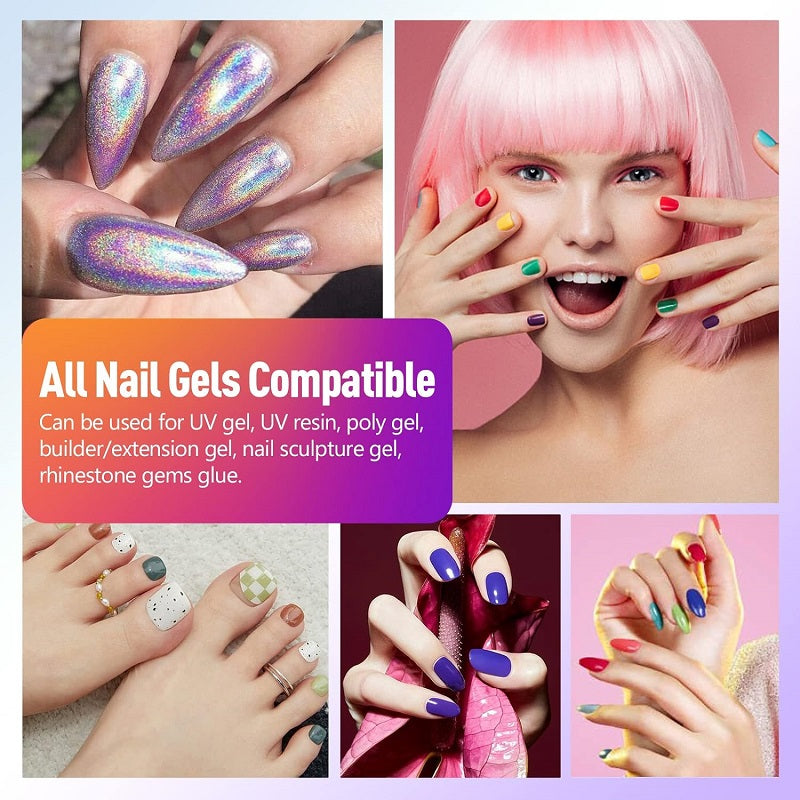
- Paint your nails with colors you like, but make sure the gel polish is good quality. Otherwise, your hands will not look good.
- After painting your nails, lay your hand flat under the UV light and let it work. Don't stick your fingers together; ensure the light touches only your fingernails, not your skin. Remember these things to avoid making mistakes when working with a UV lamp.
- Once you switch on the UV lamp, set the two-minute timer to get the perfect shine and finish. Some gel polish has a one-minute cycle; therefore, read the instructions provided by the manufacturer so you don't get it wrong.
- Cure each hand separately to get better results and avoid smudging the gel polish, a common mistake.
- For a safe removal, dip a cotton pad in alcohol and use it to rub off the sticky layer those results from the curing process. Instead of alcohol, you can also use a gel cleanser if that's what you prefer
- If you paint your nails frequently, replace the UV bulb every 2-3 months so the lamp works effectively and does not mess up the curing process.
Tips To Protect Your Hands While Using A UV Lamp
UV lamp is indeed needed to cure gel polish and the same can’t be attained without it. While doing this, it is crucial that you keep your skin safe as UV light is only good till your nails are exposed in it. As we understand how people often make mistakes of exposing the skin in the rays, we have shares the best tips to protect it while using it and these tips will definitely work for you if done in the right way.
- Use a water-resistant sunscreen, and ensure it is a broad-spectrum product, as it protects better. Apply it to your hands and wrists 15 minutes before you start the process; otherwise, it is not effective.
- Wear dark fingerless gloves to protect your hands when using the UV lamp. Make sure the gloves are of good quality; otherwise, they will be of no use.
How To Dry Gel Polish Faster?
The task of drying gel polish takes time and patience, but if you have to rush somewhere and don’t have time to spare, these tips will work in your favor.
Apply Thin Layers
If you think applying multiple layers helps, you are wrong because that's not how it works. If anything, it makes things messy and spoils your nails' look. You should apply a single thick layer and follow the same for all your nails.
Use A Quality UV Lamp
The task of busying a UV lamp should be taken seriously and you must ensure a few factors like good light intensity and wattage. Otherwise, it will not give you the desired results and will also slow down the process. Buying from a reputable brand costs more, but it works better than the poor-quality ones that damage after a few uses.
Prep Nails Properly
You cannot get started unless you have prepped your nails properly, and doing so will not give you the perfect finish that you have worked so hard for. Buffing and removing natural oils from your nails make curing easy, so you should not ignore these steps.
Avoid Moisture
Applying gel polish on wet nails can create issues and extend the process more than normal. This is why you should always dry your nails and avoid sweating your hands before starting.
Curing gel polish at home is a trend that most women prefer because it helps them save loads that would otherwise go to the nail tech. A good quality UV lamp and following the correct steps can help you achieve a professional-like finish at home.